In the world of photography, capturing the perfect moment can sometimes be disrupted by unwanted elements, particularly people who unintentionally appear in the frame. MagicEraser.Pro is an online tool designed to help users remove these distractions effortlessly. This guide will provide a step-by-step approach on how to use MagicEraser.Pro specifically for removing people from photos, ensuring a clean and professional-looking final image.
Contents
Accessing the Tool
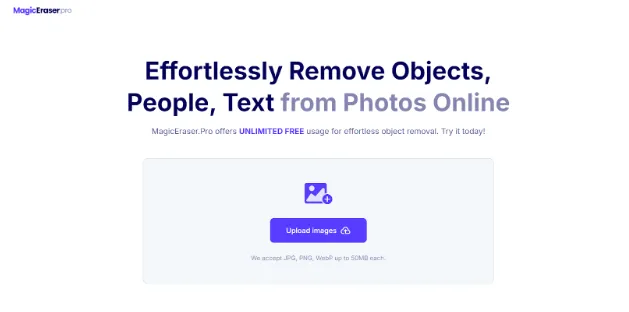
To begin using MagicEraser.Pro, users need to access the website. The tool is web-based, which means it can be used directly from any browser without needing to download or install additional software. Start by launching any web browser then navigate to MagicEraser.Pro.
Uploading Your Image
Once users are ready to start editing, the next step is uploading the image from which they want to remove people.
Steps to Upload an Image
- Locate the Upload Button: On the main interface of MagicEraser.Pro, find and click on the “Upload Image” button.
- Select Your Image: A file dialog will open, allowing you to browse through your computer’s folders. Choose the image you wish to edit and click “Open.”
- Wait for Upload Completion: The image will begin uploading; once complete, it will appear on the editing canvas.
Understanding the Editing Interface
After successfully uploading an image, users will see MagicEraser.Pro’s editing interface. Familiarizing oneself with this layout is crucial for efficient editing.
Key Components of the Interface
- Editing Canvas: The central area where your uploaded image is displayed.
- Tool Palette: Located typically on one side of the screen, this palette contains various editing tools such as brushes and selection tools.
- Zoom Controls: Allow users to zoom in and out of their images for more precise editing.
- Undo/Redo Buttons: Essential for correcting mistakes during the editing process.
- Download Button: Once edits are complete, this button allows users to save their edited images back to their device.
Removing People from Photos
Removing people from photos using MagicEraser.Pro is a straightforward process that can dramatically enhance your images. Follow these steps for effective removal:
Selecting People for Removal
- Choose Your Tool: From the tool palette, select either the brush tool or lasso tool based on your preference.
- Brush Tool: Ideal for larger areas or when removing individuals that are not too intricate.
- Lasso Tool: Best suited for selecting specific shapes or smaller individuals that require precision.
- Adjust Brush Size (if using Brush Tool): Users can modify the brush size according to their needs by using a slider or input box provided in the tool options.
- Highlight Individuals: Carefully click and drag over individuals you wish to remove from your photo. Ensure that all parts of each person are covered for effective removal.
Applying Changes
- Review Your Selection: Once you have highlighted all unwanted individuals, take a moment to review your selection before proceeding.
- Click on Erase/Remove Button: After confirming your selection, click on the button that applies changes (often labeled “Erase” or “Remove”). The AI will process your request and fill in the highlighted areas with surrounding pixels.
- Observe Results: After processing, examine how well each individual has been removed from your image. If necessary, users can repeat the highlighting process or make adjustments until they achieve satisfactory results.
Fine-Tuning Edits
Sometimes, removing people may leave behind artifacts or imperfections that need addressing. Here’s how to fine-tune those edits:
Zoom In for Precision
- Use Zoom Controls: Utilize zoom controls to get a closer view of areas where people were removed. This allows for better scrutiny of any remaining traces or unnatural patches.
- Refine Selections: If any parts of other elements were inadvertently removed or if some remnants remain visible, use additional highlighting and erasing as needed until satisfied with the outcome.
Repeat Removal Process if Necessary
- Revisit Problem Areas: If certain areas still look unnatural after initial edits, revisit those spots by highlighting them again with your selected tool.
- Apply Erase Again: Click “Erase” once more after adjusting selections; observe how effectively these areas have been refined.
Tips for Effective Use of MagicEraser.Pro
To maximize effectiveness while using MagicEraser.Pro specifically for removing people from photos, consider these helpful tips:
- Zoom In for Precision: Utilize zoom controls when working on intricate details; this ensures accuracy during selections especially around edges where precision matters most!
- Use Undo/Redo Features Wisely: If mistakes occur during selection processes don’t hesitate utilizing undo/redo buttons—they’re designed specifically for correcting errors quickly without starting over!
- Experiment with Different Tools: Take time exploring both brush & lasso options; each has unique advantages depending upon complexity level involved within specific tasks—finding what works best enhances overall efficiency!
- Save Frequently: If working on larger projects consider saving progress periodically—this prevents loss due unforeseen issues like browser crashes etc., ensuring efforts remain intact throughout the entire workflow!
Conclusion
Using MagicEraser.Pro provides a powerful solution for anyone looking to remove people from photos effortlessly! With its intuitive interface combined with robust AI capabilities—users can achieve professional-quality edits without needing extensive technical knowledge! By following this comprehensive guide—from uploading images through final downloads—individuals can confidently navigate each step while maximizing benefits offered by this innovative online tool! Whether it’s cleaning up vacation photos or preparing images for professional use, mastering this tool will enhance any photographer’s skill set significantly!
